The card was fun to make, but took too many steps. Embossing and inking the paper and then punching out 8 large boho blossoms for each wreath. Then glueing together and decorating, etc. The flower is made from 2 strips of 12" paper scalloped edged with a punch. The size of the flower depending upon the width of the strip. The top flower is 3/4" and the bottom is 1".
Showing posts with label Stampin Up. Show all posts
Wednesday, October 27, 2010
Sunday, October 3, 2010
Candle stamping
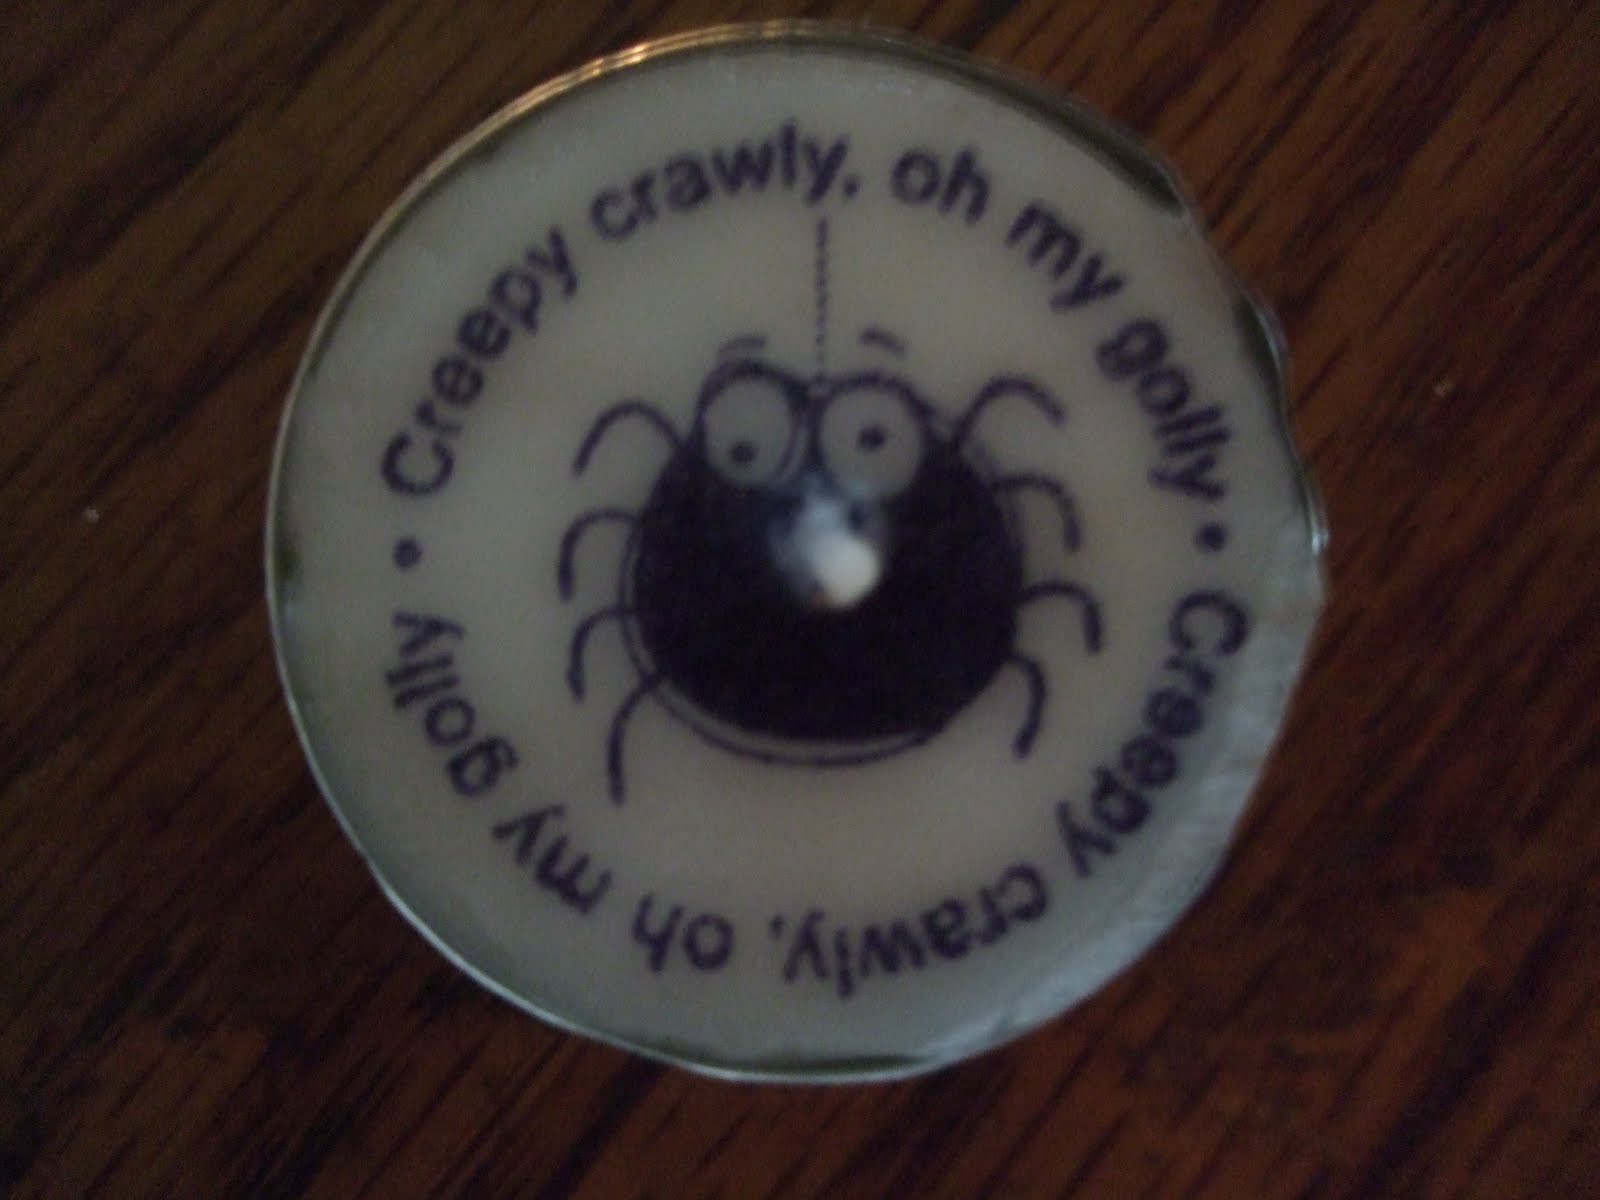
I love the technique for stamping on candles and have been wanting to try it for a long time. Thing is, I really don't like candles. But last week, I found some fake battery operated candles with timers at Costco. The best thing is that they are real wax on the outside even though they are battery operated. So bought a couple of sets and have been playing. I even found the instructions on line for making a gift box.
To stamp on candles it's very easy - you are actually stamping on regular tissue paper first. Cut your design out and lay it on the candle face up. Take a piece of wax paper that extends around the candle and hold the wax paper tight against the candle. Heat up your heat gun for a few seconds and then use it against the image. You'll see when it starts to melt into the candle. Try not to hold the gun in one place for too long. When you are complete, let the candle cool for a few seconds and then slowly peel off the wax paper. Amazing!!
Monday, September 27, 2010
Saturday, September 18, 2010
More Halloween
Friday, September 17, 2010
Halloween
Getting reading for another Stampin' Up! workshop. The hostess loves Halloween so we are doing Halloween themed. The candles are tealights that are "stamped". Found the technique online and it's so simple!! Also found the box directions there too. Making a couple as hostess gift and door prize! Going to make some for Christmas too I think...what great little gifts for friends.
For the card, just playing with my owl, bird and oval punches.
Sunday, August 8, 2010
"Miniature Masterpieces"
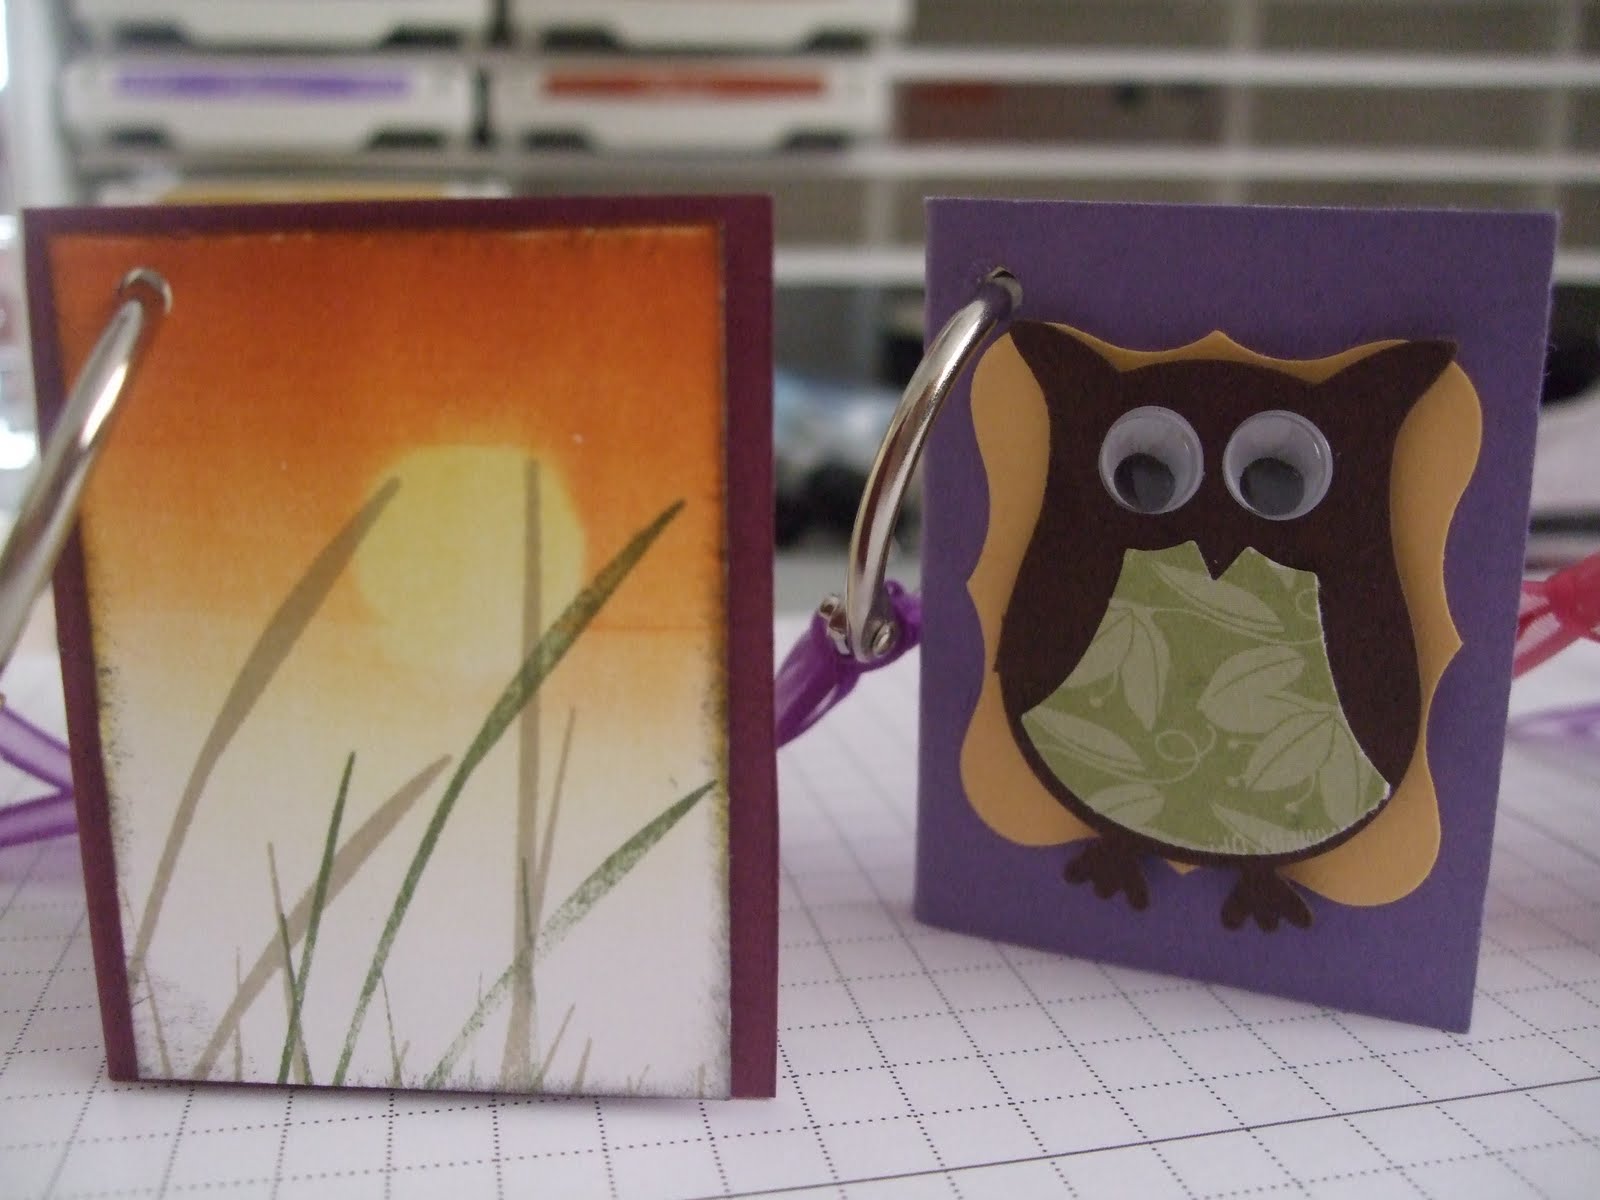
I have my first Stampin' Up! workshop this week and wanted to create a little something for my door prizes. I already had the little post it notes created, but decided I wanted to take it to another level. I decide to create a "miniature masterpiece" for a cover - each using a different technique. I used Brayering, Punching, Emboss resist and Reinker float for this set.
Tuesday, August 3, 2010
Christmas in August - Embossing Folder Experiment
This was done using the Stampin' Up! petals a plenty embossing folder. It was a lot of work to setup, but the results came out nice. I made myself a "cutting pad" out of cardboard that matched the thickness of one of the sizzix cutting pads. I did this by cutting up a cereal box and made 4-5 sheets the size of the pad. I then punched a hole using a nestability circle. I lined up the holes and glued the cardboard together. To emboss, I used a regular pad, then the folder with cardstock inside, then with the cardboard "pad" on top, shimming with some cardstock till it went thru well enough to emboss. The result is a nice embossing with an unembossed circle in the center to embellish. I wish I could say this was my idea but I saw this ages ago somewhere and don't remember who came up with the idea.
The rest is done with delightful decorations - I made a stencil by punching a piece of cardstock, then pounced in cherry cobbler, then some early espresso for shading. Covered with Versamark and heat embossed with clear embossing powder. Punched another hole in a piece of cardstork and masked off the embossing. Pounced in Daffodil Delight and the Peach Parfait around the edges.
The tree branches are done using the big pine tree top from lovely as a tree stamped in Crumb cake, Pear Pizzazz and Always Artichoke.
Sentiment is from heard from the heart stamped with Versamark and heat embossed with white embossing powder. Hook is a gold paper clip opened, and the ribbon is from my stash.
The rest is done with delightful decorations - I made a stencil by punching a piece of cardstock, then pounced in cherry cobbler, then some early espresso for shading. Covered with Versamark and heat embossed with clear embossing powder. Punched another hole in a piece of cardstork and masked off the embossing. Pounced in Daffodil Delight and the Peach Parfait around the edges.
The tree branches are done using the big pine tree top from lovely as a tree stamped in Crumb cake, Pear Pizzazz and Always Artichoke.
Sentiment is from heard from the heart stamped with Versamark and heat embossed with white embossing powder. Hook is a gold paper clip opened, and the ribbon is from my stash.
Wednesday, July 28, 2010
Workshop card
Someone finally agreed to hostess a Stampin' Up! workshop for me next month! Yay! But now I need to come up with something to demo. Experimenting today alittle and came up with this based on something I've seen before. Very easy to do, took about 10 mins. It's the first time I used the bird punch as it's intended.
Sunday, July 25, 2010
Beachy Girls
I've got a new web site linked on the right side of my page called: Blinkin', Thinkin' and Inkin'. Ellen does the most wonderful work with punches! She claims not to be an artist, but she can see things in punches that I certainly can't. These little girls were inspired by her using Stampin' up! punches - butterfly, circle, oval and wide small heart. Not sure what I'll do with them yet - maybe brayer a beach scene for them.
Sunday, July 18, 2010
Post it Note Key chains
Thursday, July 15, 2010
My own designer paper

Stampin' Up! makes a paper called presto patterns design papers. It's really cool because it looks white until you sponge or brayer ink over the top of it. I don't have any of that paper, but I have some nice stamps and figured I could make my own. So here's my attempt at doing just that. It's done by stamping with versamark and then heat embossing with clear embossing powder. Then simply sponge colors right over the top. It makes the embossed image pop. And it's very easy, you can't make a mistake. If you don't like the colors you pounced, just pounce some more until you like it!! I used 3 colors - Cherry Cobbler, Daffodil Delight and Early Espresso. The hummingbird is Night of Navy.
Inspired by a head cold
Actually, was very inspired by the product I am taking for the cold. I took one look at the bottle and thought to myself "I can make that". So here it is!
Back from a long vacation in NY and recuperating from a very "liquidy" head cold - let's just say that in one 8 hour period I went thru a whole box of tissues.
My chocolate "cake" which I posted last month was a huge hit. So much so that I think I'm going to make another to enter in the AZ State fair this year.
I've also been doing weight watchers since April, and proud to say I have lost over 16 lbs so far, but what's even more amazing is that I am down 2 sizes! Even with vacation I lost 1 1/2 pounds all while being on the Friendly's Forbidden Chocolate and hot fudge diet (yes, I love Friendlys and we don't have them here in AZ). I should say I supplemented my ice cream diet with Slim fast and Lean Cuisines and Salad, and hardly ever sat (as compared to my regular working day where my butt spreads out on a chair for 8-9 hours a day).
Sunday, June 13, 2010
Friday, June 11, 2010
Card with preview stamp set
This is one of the new level 1 hostess sets - Because I care coming out July 1 with the new Stampin' Up! catalog. The yellow paper and ink are also new in the upcoming catalog and it's called Daffodil Delight. Waiting for this new catalog was like being a kid waiting for the annual Sears wishbook. Now I have it and am marking up all the pages for things I eventually want to get!
Monday, May 31, 2010
Looks good enough to eat!
I haven't posted in a while, but it's because I've been making this cake. Doesn't it look great? But you can't eat it - it's 100% made of paper! It's a favor cake! Each slice is a box and each opens to hold little trinkets, gifts etc. This one is for my husband's parent's 60th anniversary (that's not a typo, it's really 60!). We bought the personalized M&Ms and we are going to put them in little organza bags and fill each slice. I think we are also supposed to be working on a little "thank you for coming" scroll...eek, don't have much time left to do that. Thanks to Helen...she always has very inspiring items on her blog...who knew you could be making a cake from paper.
Labels:
Cricut,
Floral punch craft,
Nestabilities,
Paper Crafts,
Stampin Up
Saturday, May 15, 2010
In need of cards
I gave a huge stash of cards away to my son's band to use in a fundraiser next week. I hope they make alot of money - it's a silent auction - I hope they are nice enough that people want to bid on them. I also gave them all my purse gift card holders - I know they will be popular, especially with the end of school coming up. They will make perfect gifts for female teachers (of course filled with a starbucks or other gift card!).
So with that, I have nothing left and May is a huge month for birthdays plus I have two nieces graduating college and a nephew graduating high school. I needed to get my act together today to make some cards. The music of the night card is for my nephew...he loves Phantom of the Opera and composes his own music. Thought it would be fun to distress some paper to make the music look old. The Congratulations card is for one of my nieces, and the happy birthday for one of my sis-in-laws. One more graduation card and one more birthday card to make (I think) to get thru May. I have scrapbook day with some gals tomorrow, so hopefully that will work out perfectly.
Sunday, May 9, 2010
Playing with new stamps
Just some fun with some new stamps. This set is called awash with flowers and when it first came out I wasn't thrilled with it. At least until I saw things made with it. Then of course I had to get it. The words are also from a set I just got called Heard from the Heart. I'm kind of shocked I just made a simple and clean card!
Sunday, May 2, 2010
Paper Piecing Mother's day card
This was fun to do. I stamped the flower on 3 different papers, cut out all the petals and then put it back together again on a piece of white paper. I am finally becoming half way decent with an exacto knife after 40 years. I was always amazed how well my mother could cut things out when she used to do intricat decoupage back in the 70s. I can only hope to be as good someday.
Subscribe to:
Posts (Atom)